Week 2: Bill Pay and Calendar Organization
Week 2 Goal: Folder creation for bill pay and calendar management
Day 11 Tasks: Understand the Value of Using Google Calendar and Create Calendar Categories
If you aren’t effectively managing how you spend your time, your time will manage you. Time is the most valuable asset we have because it’s something we will never get back.
In today’s post, I am going to be sharing the value of using Google Calendar, which has a ton of benefits. As someone who has all Apple products, I still prefer using my Google calendar over my Apple iCal because of its many benefits.
Today, I will be sharing some of the ways you can get the most out of using Google calendar to keep track of everything happening in your life. Because you’ve already created your gmail account for this challenge, you are already a step ahead.
Benefits of Using Google Calendar
- Easily share your calendar with others
- Create multiple calendars and share as many of them as you’d like with family, friends, colleagues, etc
- Access it from anywhere, either in a web browser or directly from the Google Calendar app, regardless of what type of device you’re using
- Each of your calendars can be color coded
- Send calendar invites and collect RSVPs right away
- Sync with Apple iCal, Outlook, and other programs
- It’s free and very user friendly
There are many more benefits to using Google Calendar, however, I wanted to share some of the key ones in this post. You can download the Google Calendar to your device by clicking either of the download links below depending on your type of device or you can access it from your gmail email account directly. Once downloaded to your device, you can easily manage the details of your calendar by adding events, tasks, reminders, and more.


To access it from your email account, login to your gmail inbox. You can get to it two different ways from your inbox. The first way is by clicking the calendar icon directly along the right sidebar.
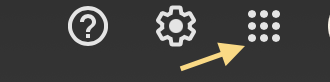
The second way is to click the series of dots in the upper right corner next to your google profile picture. If you hover over those dots you will see they are ‘Google Apps’. This will give you a list of various google apps. Find ‘calendar’ on the list of apps and click it.
The best way to use the calendar is from a web browser. This option gives you full usability and options. It will be better for you to make your changes using the web version, instead of the app, because some of the features can only be customized this way.
The next thing for you to do is think about the different roles or groups that apply to your life and write them down. Some examples include your job, any social organizations you may belong to, fitness, household cleaning, reminders, learning, social media time, etc. You can have as many categories on your list that you want.
You will be creating a calendar that is specific to each category you want to focus on. From there, it makes it easier for you to block out your calendar when working in those categories. For example, you can put your work schedule on your “job” calendar. You can also include your workout time on your fitness calendar, and so on. To take it a step further, you can load all of your monthly bills in your ‘reminders’ calendar.
Creating these categories and calendars will help you keep your schedule more organized which will also help you be more productive and get more done. One of the benefits I like most about using this is the ability to color code each calendar which makes it easier to identify what each calendar entry pertains to.
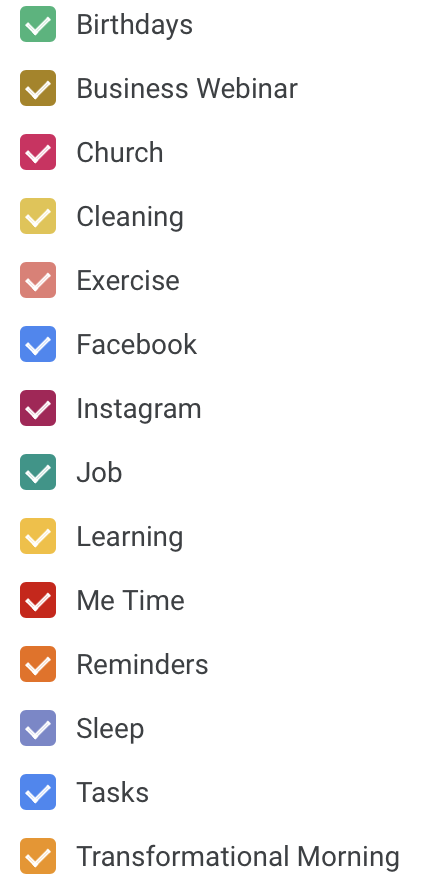
Once you have all of your calendars and categories setup, they will look similar to the categories below.
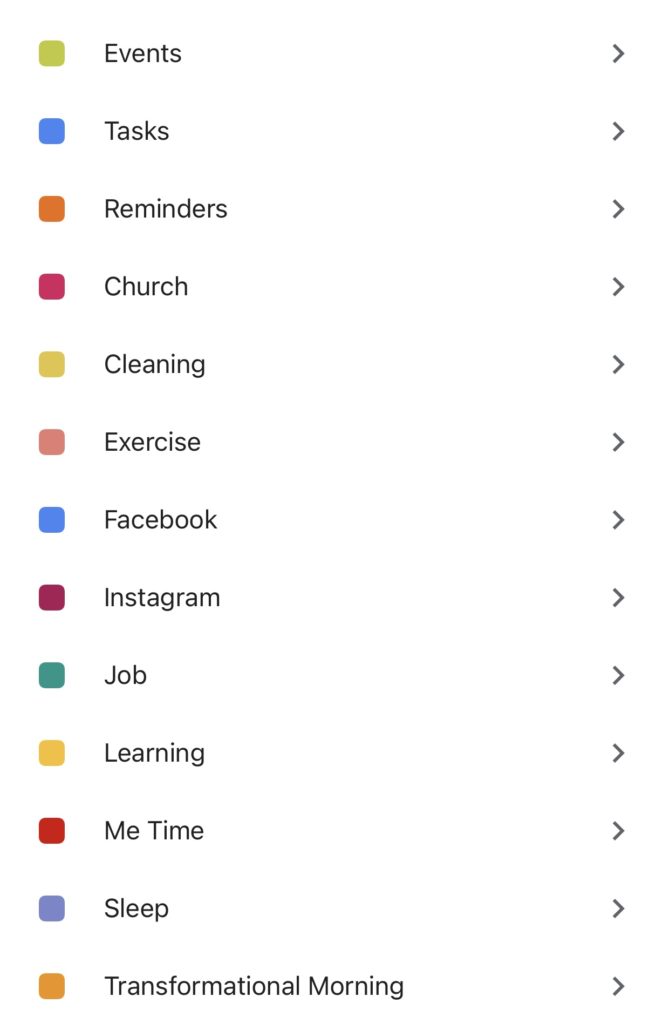
When you’re ready to begin adding items to your calendar, you will see all your categories listed along the side of your calendar. This makes it easier for you to set the entries in your calendar based off which category it’s for.
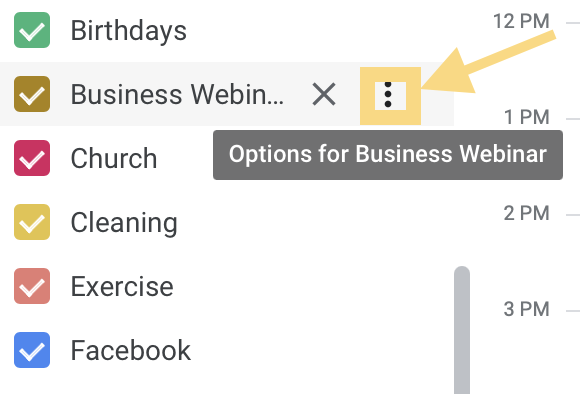
If you decide you want to change your category colors, just hover over the category you want to change and then click on the 3 dots to the right. See screenshot below.
Let The Fun Begin
Now, it’s time for you to start adding your entries to your categories in your calendar. You might want to start out adding the events that happen consistently such as your work schedule, church, exercise, etc.
This may take some getting used to at first, however, if you’re really ready to be more productive, this will help you setup your entire day, week, and month.
Next up, you can add your tasks to your calendar. After that, you can then setup your reminders for important to-do items and appointments you have. In order to maintain your new calendar system, decide on a day each week to schedule 30 minutes to put all your events in your calendar for the week. I usually fill my entries in my calendar on Sundays. That helps me keep my week in check.
Once you finish today’s task, you should have all your important calendar entries created. That’s all for day eleven!